When we first purchased this home I remember peering through the paint-sprayed, dirty old storm windows into the dining room and thinking to myself, "at least there is one room in this house we don't have to do anything to!" So wrong. That was, of course, before James decided we should go ahead and tear down all of the first floor ceilings in order to rewire the entire house.
It has been years since I have had a separate dining room and I was so excited to have one! In the past 12 calendar months I have lived in three separate houses, and I could not wait to have a separate room to sit, eat, and enjoy another's company during dinner. Growing up, having dinner together was the mainstay in my family's chaos. We would sit and eat together almost every night. With a glass of milk. I may not be drinking my milk anymore, but at least I can have a grown-up, sit-down dinner!
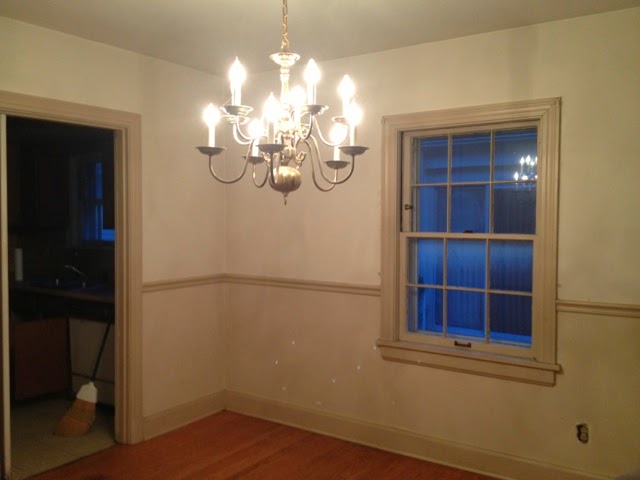
Although cosmetically and to the untrained eye, we have made very few changes to this room, I can personally attest to it's transformation. From the ground up we: refinished the hardwood floors, replaced the windows, used the old window frames to complete them, painted, removed chair rail, widened the doorway to the kitchen (per my momma's request), refinished the old brass chandelier, applied a ceiling medallion, and crown molding! Personally, I am a fan of chair railing... just give it time... it'll make a comeback... in our house at least. I also was able to see pictures of my friend's house and her dining room ceiling was UH-mazing (the whole house really... she may need to be a guest blogger... we'll talk about that)! So, expect some coffering down the road, as well. Ah!
 |
| BEFORE |
 |
| DURING - demo |
 |
| DURING - adding the ceiling back |
 |
| DURING - staining the floors! |
 |
| DURING - Base coat of paint and floors stained |
 |
| AFTER! |
We didn't run into any major issues with this room. In fact, the crown molding and ceiling medallion are perfect additions to what I had originally planned for it and I think it adds just a little extra detail. I purchased the
ceiling medallion from Home Depot in the lighting department. Aside from us repeatedly losing or forgetting the pieces of the chandelier while trying to hang it, applying it was relatively simple. I think they are super awesome, super easy, and there are so many fun options! Imagine if you painted it... *gasp* adventure!
As far as the chandelier's transformation goes, all it took was a little scrubbing and some spray paint! I used
Rust-Oleum's metallic line in Oil Rubbed Bronze (also from Home Depot) and, after wiping down the light fixture, I hung it in the garage and made a few passes with this spray paint. Remember: Short bursts, long long sweeping motions. Once it was all hung up I wrapped the cord with a
burlap cord cover and snapped on some
tiny little lampshades, both from Hobby Lobby. Since our chandelier has 10 arms it looks a little crowded and wonky at times, but I love it nonetheless... and the spray paint I used is actually a perfect match for our kitchen fixtures!
 |
| Pre-cleaning. |
 |
| Post-wipe down. All shiny and new-ish. |
 |
| Like watching paint dry. |
 |
| The finished product! |
The major construction involved was with widening the doorway. Originally it held a heavy double swing door which made it all kinds of fun to bring food in and out of (at least in my imagination). Momma suggested we widen it to match the alternative entrance from the foyer. Luckily this only mean taking out one 2x4 and replacing the header with a longer one. Headers are not nearly as terrible as HGTV makes them out to be. Trust me.
We had a lot of help with this room! From the ceilings to the molding, to the painting, all in all I think everyone who helped us with the house in general, had a hand in this room - the one room we didn't have to do anything to.


No comments:
Post a Comment
Let me know what you think!